Log In #
Create an account or log in with the supplied credentials at https://account.postmarkapp.com/login
Create a server #
Once you’re logged in click on ‘Create Server’
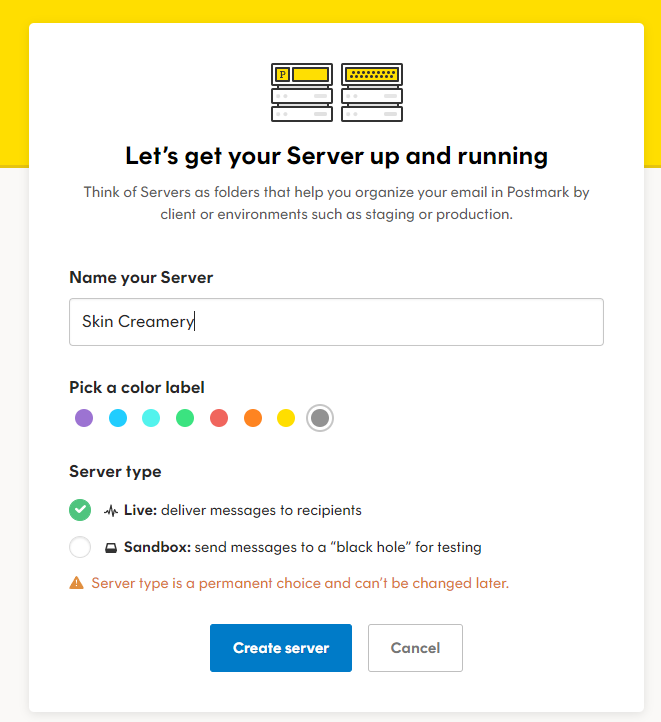
Give your Server a name and pick a colour label, and set the server type to ‘Live’
Sender Signature #
Once the server has been created, select ‘Sender Signatures’ from the top menu bar.

Click on ‘Add Domain or Signature’

You can either verify any email address on the domain, or specific email addresses.
Any email address verification requires DNS updates.
Single email verification requires the email address owner to click a confirmation link sent to them by PostMark.
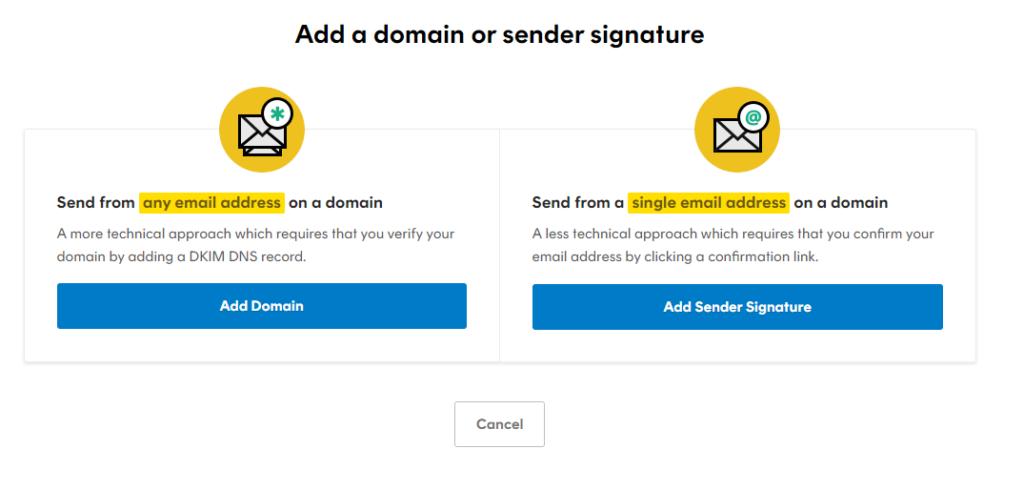
We’ll be adding Domain Verification, so click ‘Add Domain’
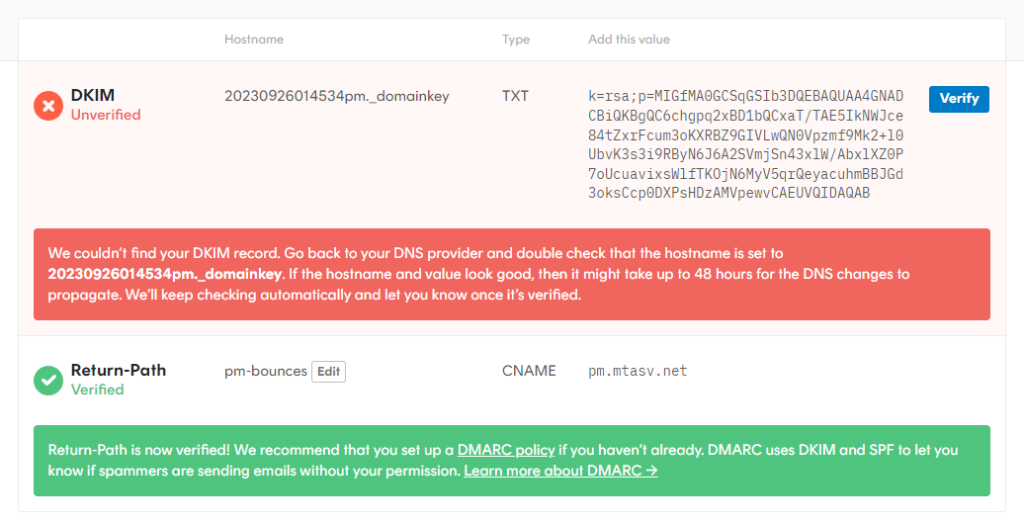
You will be given 2 DNS records you will need to add at your Domain or DNS provider.
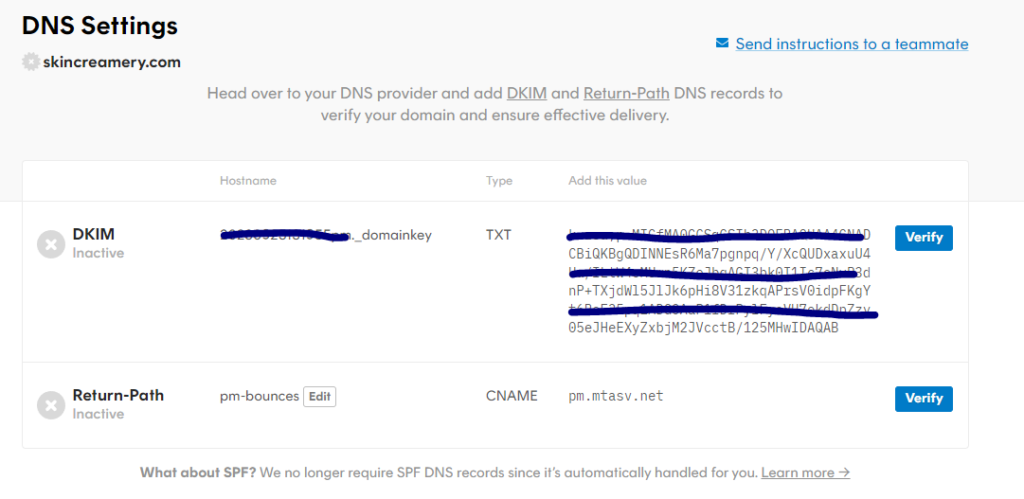
Wait for 10 minutes after adding the DNS records, then click ‘Verify’ to check if they were added correctly.
If you get an error, double-check the DNS records. If it all seems fine then just wait a little longer before trying to verify again.
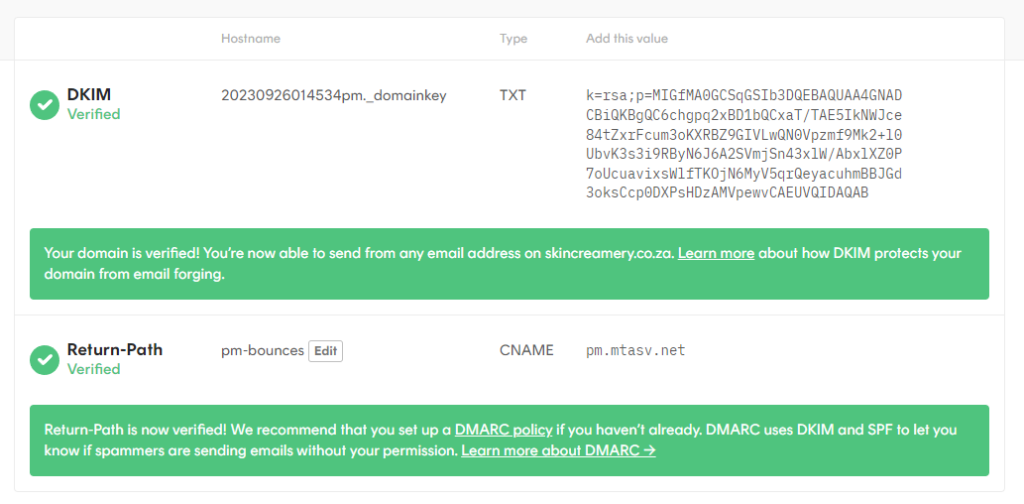
Once everything is set up correctly you should see this.
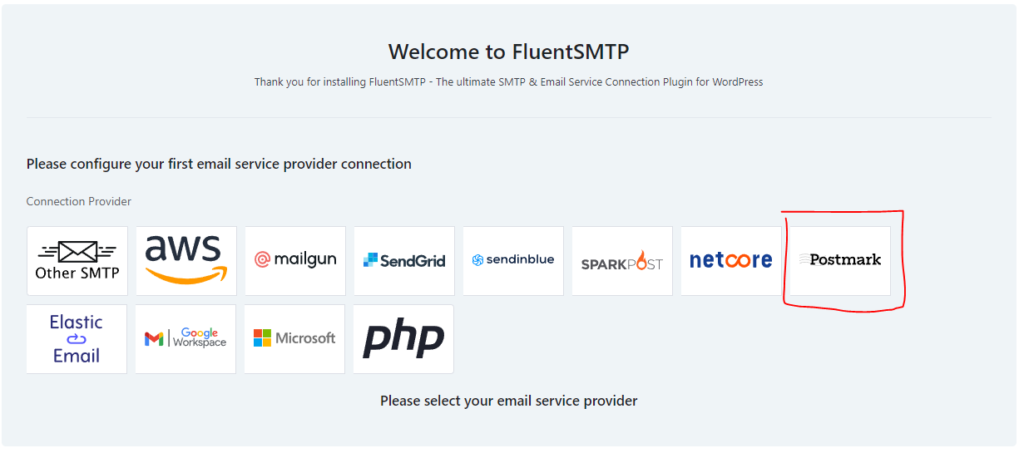
Adding the SMTP to WordPress #
Log in to the WordPress website you would like to add the Postmark transactional email service to and download/navigate to FluentSMTP.
On the Postmark website, select the server and copy the API Token
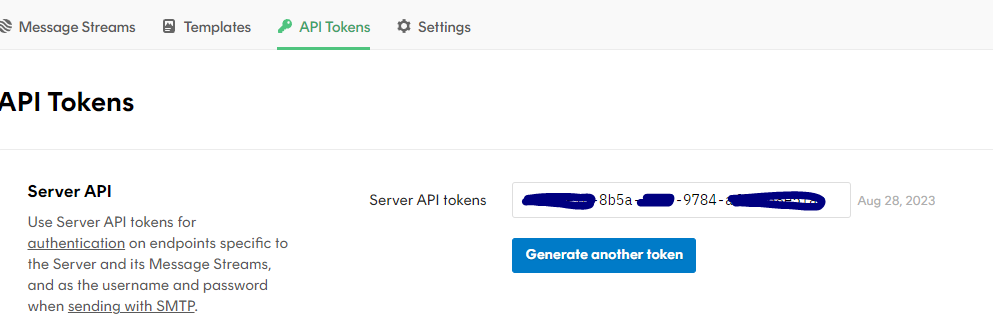
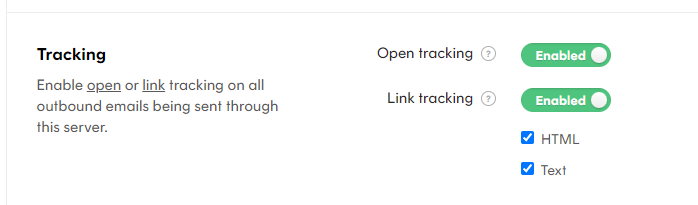
You can also enable email tracking under the settings tab.
Now go back to WordPress and enter the details.

Click on ‘Save Connection Settings’

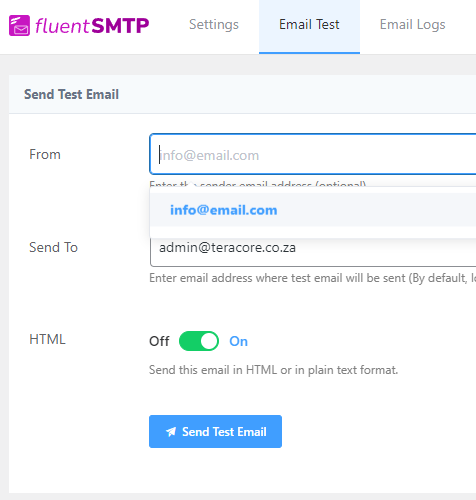
Now test if your connection is working by sending a test email.
Broadcast Stream for mass mailing #
If you plan on using FunnelKit, FluentCRM or any other email campaign WordPress plugin, then you will need to set up another sending address and make sure the message stream is set to broadcast.


